Useful tips and tricks
What should you be aware of when putting up an awning? Or, what are the best tricks for long-term maintenance? With more than 60 years’ experience behind us, we know a thing or two about awnings, and we’d like to share that knowledge with you.
We will be posting regular updates here, giving you our top tips and tricks, from pegging techniques to storm protection.
10 useful tips for when your awning needs packing away for the winter
We’ve put together 10 useful tips for you:
What type of frame should you choose?
Follow our guide and find out which type of frame you should choose for your Isabella awning, sun canopy or annex.
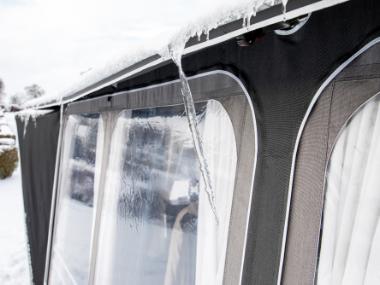
Winter securing of seasonal awnings for year-round use
If you plan to use a seasonal awning – such as the Ambassador, Commodore, Nordic, Forum or Penta – during the winter period (week 43 to week 11), it’s important to follow the requirements and recommendations below.
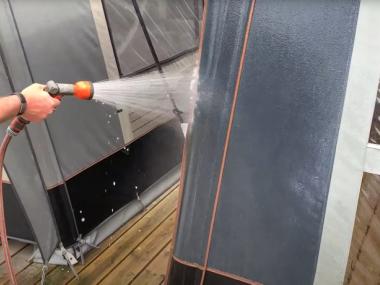
How to clean your awning in winter!
During the winter months, frequent and thorough cleaning of the awning is particularly important. This applies to exterior and interior.
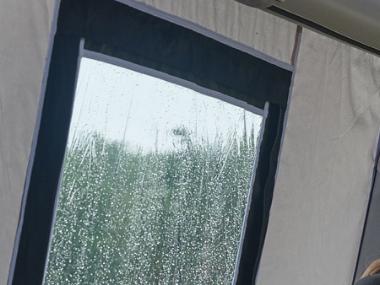
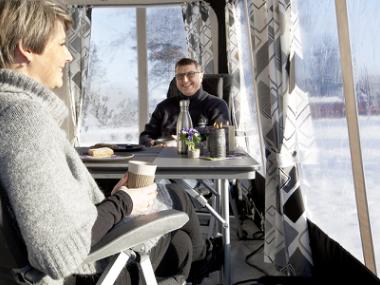
7 tips for reducing condensation
Most campers experience condensation in their awnings from time to time. Here are 7 tips on what you can do to minimise it.
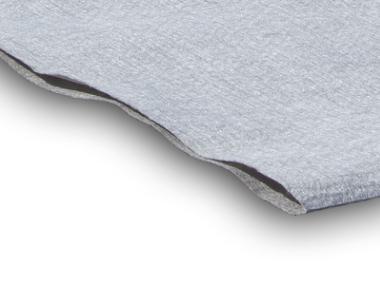
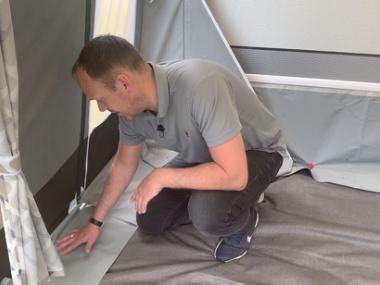
How to minimise cleaning and protect the underlay in your awning
3 steps for keeping your underlay, mud wall and canvas clean and dry in your awning
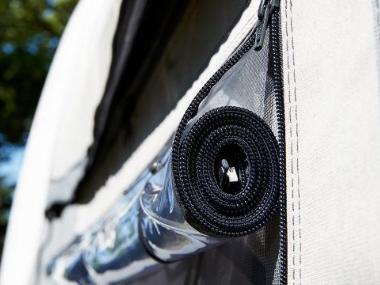
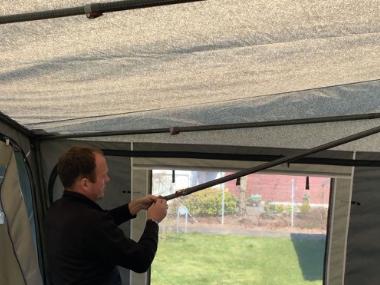
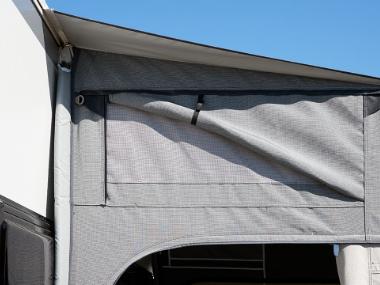
Veranda pole for ventilation
Would you like more ventilation inside your awning on a hot day? Use the veranda pole supplied.
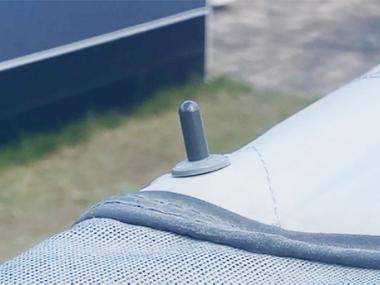
Avoid getting water inside your awning with DropStop
Avoid getting water inside your awning by using DropStop grommets on the spikes that stick up through the roof.
Soft ground? Use Stabilo under the legs
Have a look at how to prevent your awning sinking into the ground after heavy rain.

Keep your windows clean
You can easily keep your windows nice and clean using Isabella Window Cleaner and the fibre cloth supplied.
How to make your awning last longer
The only sacrifice you have to make is a couple of minutes of reading now, and a couple of hours of maintenance once a year.
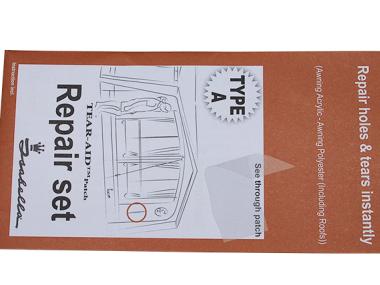
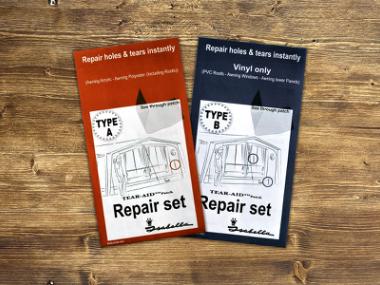
Repair kit
If you tear or make a hole in your awning, you can repair it yourself with the right kit.

3 easy cleaning steps using water and a brush
When cleaning the canvas and windows, it’s important not to use regular household detergents.
Light markings on the mudwall
Have you noticed changes to the structure of your mudwall, and light staining?
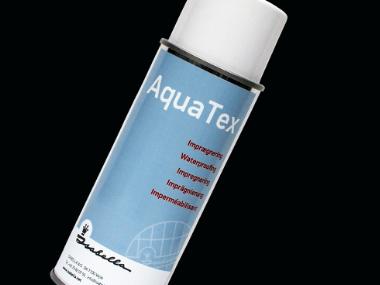
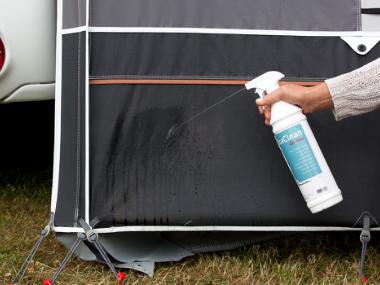
Use of impregnation
If your awning is leaking, the problem can usually be fixed using AquaTex special reproofing spray.
Winter storage
It’s important to store your awning correctly so as not to damage the awning and poles.

Guide to airing and ventilation
Condensation can be prevented by providing good ventilation inside the awning. See our advice on good ventilation.
Using gas heating in the awning
Follow our advice on what you should do to remove dirt from your gas oven.
Calculate the floor area in your awning
Awnings are frequently wider inside, next to the caravan, than they are at the front. That’s why it’s a good idea to know the floor area before buying carpet or any other flooring.
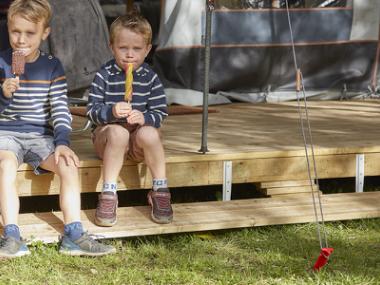
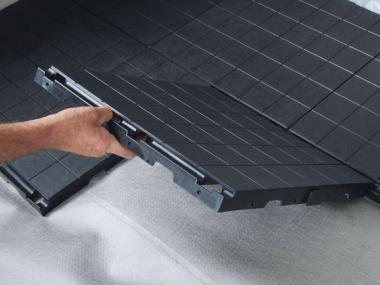
How to build a wooden floor underneath your awning
How do you work out the ground measurements for your awning so that you can build a wooden floor underneath it?

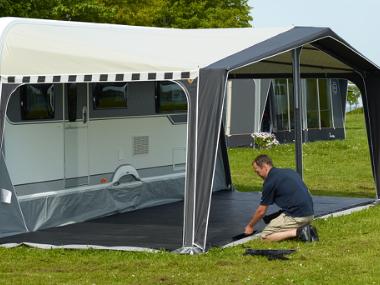
Isabella’s flooring concept – layer upon layer
Get three solutions for convenient flooring, no matter how you camp

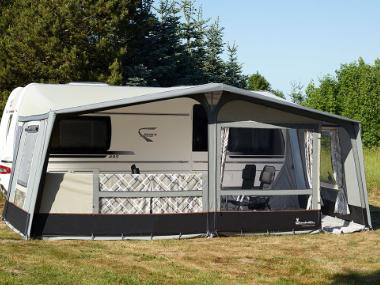
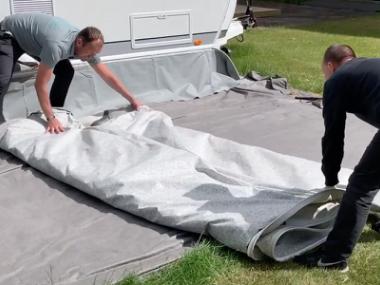
How to put up your Isabella awning quickly and easily
Putting up an awning can be a bit of a palaver. Where do all the different pieces go, and what are the poles for? How do you make sure the awning is tensioned correctly? And what about the floor?
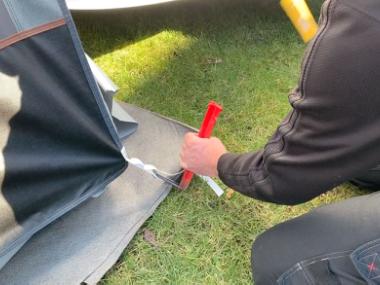
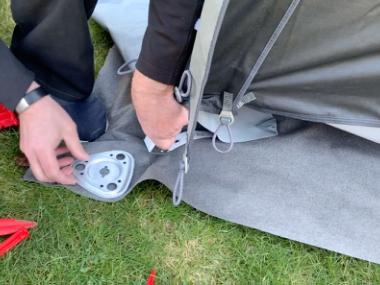
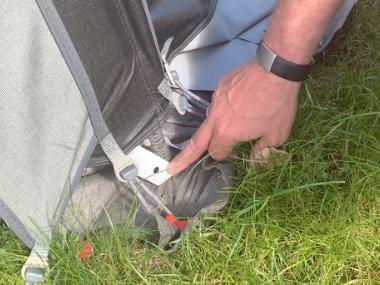
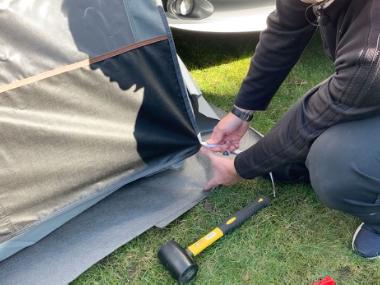
Correct pegging
We’ll show you how to peg your awning correctly so as to keep it firmly in place for your entire holiday.
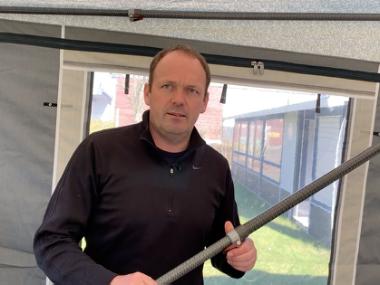
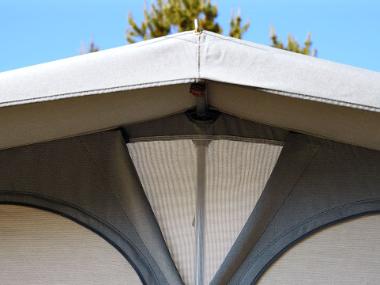
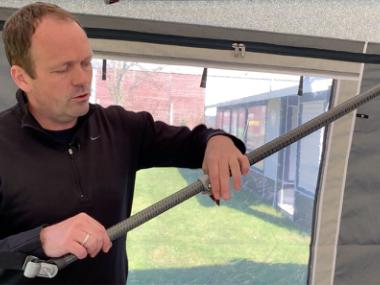
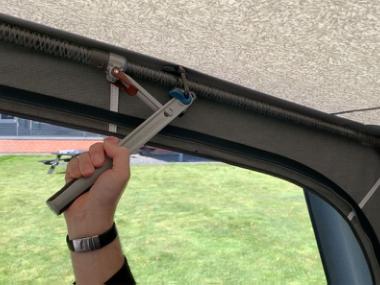
Guide to rafter pole positioning in awnings
Positioning rafter poles correctly is important, to ensure your awning is robust and rainwater runs off it.
How to position the mud flap correctly
Here’s a description of how to avoid getting water inside the awning by positioning the mud flap correctly.
Lock your CarbonX poles with IsaFix
IsaFix are Isabella locking brackets for CarbonX poles. With IsaFix, you can easily lock your poles when putting up your awning.
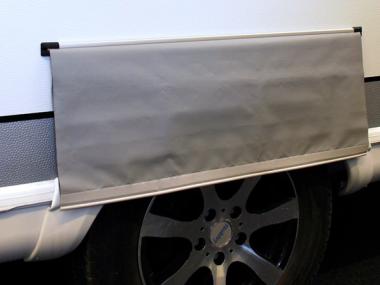
Avoid draughts at the wheel arch
Use the wheel arch cover supplied so that draughts can’t enter at the wheel.
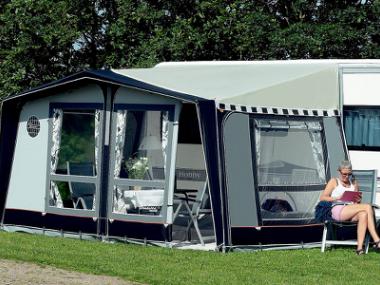
Using an A-measurement awning as a porch
How do you measure, cut and assemble an A-measurement awning as a porch?
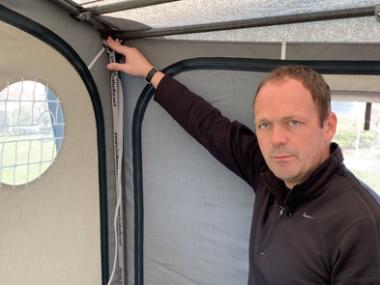
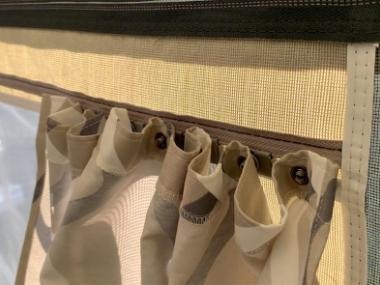
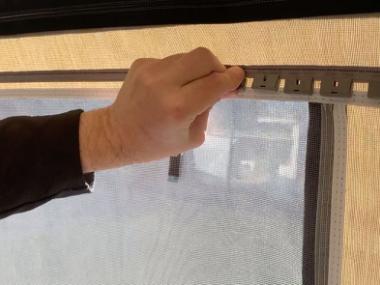
Using the regulator tab
When putting up the awning, it is important to use the sewn-on regulator tab at the two corner legs and middle leg.
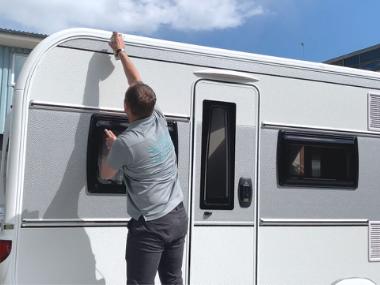
Important information on distance to the ground
How much distance should there actually be between the seam and the ground in order to secure your awning against the elements?